Updated on
 By Carlos Correa
Table of Contents

Whether you're just getting started building a new sales team, or you're working with an existing set of sales reps, and you're looking to maximize performance, there are two big wins on the table for you:
- Building an effective sales process
- Implementing sales workflow software to help you
If you can nail these two, then you're a shoo-in for hitting your sales target, and so are your reps!
Wanna know something cool, then?
We're going to give you the inside info on how to do exactly that, right here, right now.
What is Sales Process
One of the things that makes the sales process confusing to some is that it goes by a few other names.
You may have heard these terms thrown around too:
- Sales cycle
- Sales workflow
- Sales journey
In the interest of getting everyone on the same page, let's start simple:
What is a sales process anyway?
P.S. If you've already got a good grasp on what a sales process is, and you just want to get straight into the insider tips, feel free to skip ahead.
Understanding the Sales Cycle
Your sales process is the steps your reps take to move a prospective customer from 'New Lead' to 'Paying Customer.'
In most cases, the sales process is designed to align with your customer's buying journey. If you can do that, then the conversations your reps are having will match the mindset of the customer, and both can move through that process together.
Most sales processes involve 7 steps, though some companies add or subtract stages based on their customers' needs (more on this soon).
Here's what they typically look like:
- Prospecting
- Qualifying
- Needs assessment
- Pitch or demo
- Proposal
- Objection handling
- Closing
High-performing sales teams add an 8th step two: the post-sale follow-up.
What is a Sales Workflow?
A sales workflow is the same as a sales process, though it's a little more detailed in that a sales workflow details what happens at each stage, depending to a degree on the customer's actions and responses.
Most teams visualize sales workflows using a diagram.
Let's explore what happens at each stage of the sales process in more detail, and then we'll take a look at how this transfers over to a sales workflow diagram.
|
Sales Process Stage |
Actions |
|
Prospecting |
This is where sales reps are searching for potential customers. You're looking at their website, social media, and the outputs from your sales intelligence tool, to determine if they look like a good fit. You'll probably be making some phone calls to determine who the KDM (Key Decision Maker) is and mapping out the organization. |
|
Qualifying |
During the qualification stage, a sales rep is asking the prospect a series of targeted questions to determine if they truly are a good fit. There's little point in going forward with a demo or proposal if you know that the prospect is not going to be a good fit for what you're selling. |
|
Needs assessment |
This stage involves some qualifications, too, except instead of determining if the prospect is a good fit for your company, the rep is looking to determine which products and services are going to suit the customer and how they can put together a suitable deal. |
|
Pitch or demo |
This is the 'sell' stage. It's where the rep gets to show the prospect all of the great ways their company can bring value to the prospect and the myriad ways their product or service is better than alternative solutions. |
|
Proposal |
The proposal stage is essentially where a rep puts a dollar amount on the table for a specified set of products or services and asks for the deal. |
|
Objection handling |
Not all customers will say yes immediately. More often than not, reps are going to need to handle a number of objections and potentially negotiate on specific points of the sales contract. |
|
Closing |
Boom! We've overcome all the objections, negotiated a deal that suits both parties, and got some signatures on the dotted lines. Nice! |
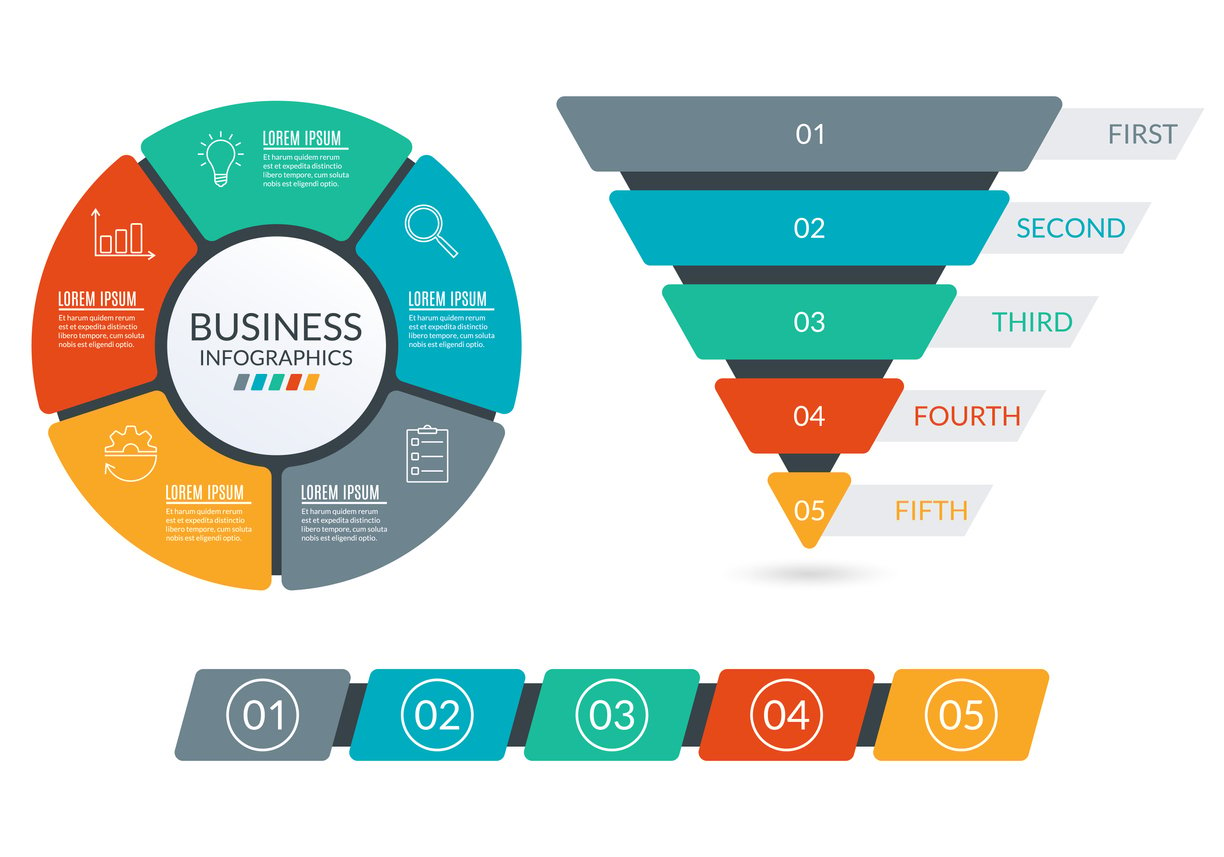
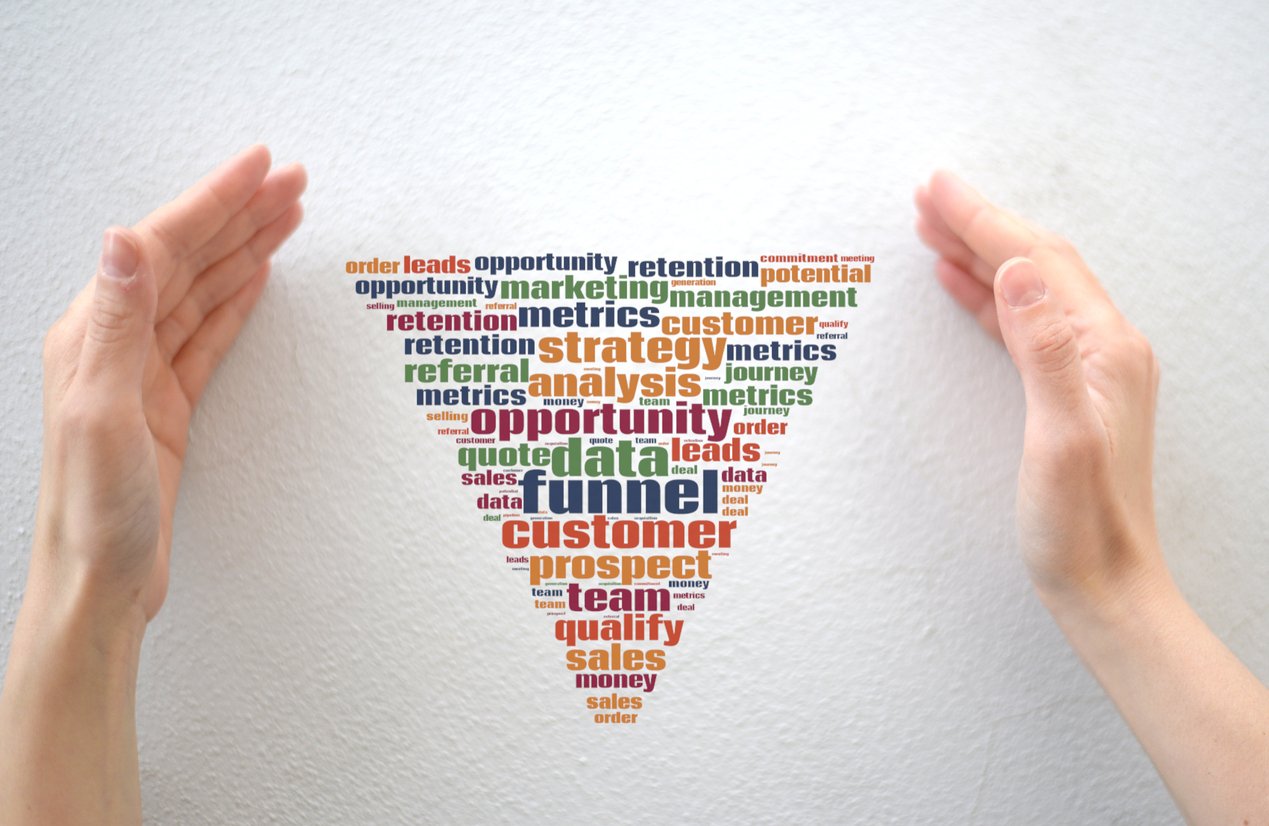
Sales Process Flowchart
Here's an example of what a sales workflow diagram might look like for an inside sales team:

Sales Process Mapping
Sales process mapping is a helpful tool for visualizing the sales process stages. It is also sometimes referred to as a sales process flowchart and can help to guide your sales strategy.
The typical stages of the sales process include:
- Prospecting and qualifying leads
- Preparing,
- Approaching,
- Presenting
- Settling objections,
- Negotiating, and
- Closing.
Each stage involves different tasks that must take place for you to win a sale.
The 7 Step Sales Process
The 7-step sales process is a common approach to managing the sales process and consists of the following stages:
Step 1 - Prospecting and Qualifying
Prospecting and qualifying involve identifying potential customers who will benefit from your product or service. This is an essential first step in any sales process, allowing you to focus on the most potential customers.
Qualifying your leads allows you to determine which prospects fit your product or service best and narrow your list of potential customers.
Step 2 - Preparation
You've identified and qualified potential customers. Now it's time to prepare for the sales process. This includes researching your prospects' needs, business models, and industry trends. Creating a sales process flowchart that speaks to the customer's needs is important when preparing for the sales process.
This is also the stage where you'll want to create sales materials and set up a CRM system to manage leads and measure progress.
Step 3 - The Approach
Also known as the initial contact, this is where you will introduce yourself and your product or service to the customer. The goal is to get the customer interested in what you're offering.
After evaluating your customer's needs in the preparation stage, you can tailor your approach and presentation to the customer's unique needs. You'll want to reach your prospects through a communication system that works best for them at this stage.
Step 4 - Presentation
Once you've made contact and generated interest, it's time to present your product or service to the customer. It's important to keep in mind what you learned when qualifying the lead in Step 1 and researching the customer's needs in Step 2.
You'll want to create a presentation that speaks to the customer's needs and demonstrates how your product or service can fulfill those needs.
Step 5 - Handling Objections
Objections from customers are inevitable at some point in the sales process. It's important to be prepared for them and be able to respond effectively. Anticipate potential customer objections, such as cost, and use this as an opportunity to explain the value of your product or service.
By providing solutions to potential objections, you can increase the likelihood that the customer will be convinced to purchase your product or service.
Step 6 - Negotiating with Your Prospect
Negotiating with your prospect is a critical step in the sales process. It's important to come to an agreement on price, delivery method, and other terms that are acceptable to both parties.
This is also an opportunity to demonstrate your customer service skills by being flexible, understanding, and accommodating of the customer's needs.
Step 7 - Closing the Sale
The closing process is the most critical step in the sales process. After you've provided your presentation, addressed objections, and negotiated terms, it's time to ask for the sale.
You'll want to close confidently, be prepared to provide additional information if needed, and make sure the customer feels comfortable with their purchase decision.
A sales process flowchart is a great tool to visualize and optimize the stages of your sales process. Remember to always follow up with your client(s) after the sale to ensure they are satisfied with the product or service.
It's also important to remember that no two sales processes are alike, so adjusting the process for each customer is essential. By being flexible and understanding of the customer's needs, you can create a sales process that is tailored to their specific situation.
Sales Process Examples
The sales process stages outlined above are just some of the steps you can take to develop an effective sales process. Here are a few examples of these stages in different industries:
Example 1 - The Real Estate Industry
In the real estate industry, the sales process typically follows a specific flowchart. It starts with prospecting and qualifying potential buyers. Then, you will have to present properties and negotiate offers.
After that, there is an inspection period before contracts are drawn up and signed. Finally, closing occurs when paperwork is finalized and funds are exchanged. Of course, you will need to do follow-up and customer service activities throughout the entire process.
Example 2 - The Technology Industry
The technology industry has a slightly different sales process flowchart. Prospecting and qualifying still occur in the beginning, but after that, you will have to review customer requirements.
Then, you will need to create proposals and demos of your products or services. Afterward, contracts must be drawn up and signed before installation or implementation can take place. Finally, post-sales service must be provided to ensure customer satisfaction.
Example 3 - Software Company in the B2B Industry
A typical sales process flowchart for this type of business would look something like the following:
- Stage 1: Lead Generation - The potential customer is identified and "qualified" as someone who could benefit from the product or service offered.
- Stage 2: Qualification - Sales representatives are required to quickly ascertain whether the lead is a good fit for the product/service during this stage.
- Stage 3: Proposal - Once both parties agree that there is potential for a relationship, sales representatives will create a proposal outlining what the customer can expect from their product or service.
- Stage 4: Negotiation - This stage is often considered the most important and can make or break a deal. Representatives must use their sales negotiation skills to come up with an agreement that both parties find mutually beneficial and agreeable.
- Stage 5: Closing - The sales representative must "close" the deal after working out the details. This typically involves signing contracts and collecting payments from customers if applicable.
A great sales process has a clear structure that is easy to understand and follow for both parties involved. It should also be tailored specifically to the product or service offered to maximize efficiency and effectiveness in closing deals.
10 Insider Tips on How to Improve Sales Process
Now that we're all caught up, let's dive into these insider tips.
Remember, these are inside tips, so keep them to yourself, yeah?
1. Make Just One Change At A Time
It can be tempting to jump straight into a huge overhaul of your sales process, especially once you've just discovered a bunch of awesome new tips.
But here's the thing:
You can quickly overwhelm yourself, and after not too long, you realize just how big a beast it's going to be to:
- Determine what process changes need to be
- Put them into some form of documentation
- Roll this out to your team
- Coach your sales reps to actually use the new process
- Analyze the effectiveness of your efforts
Instead, focus on just making one change to the process at a time.
Not only is this going to be a more achievable chunk of work for you as the business owner or sales manager, but it's going to be more easily digested by your sales team.
One way to make sure you keep on track is to set a schedule for sales process changes.
For example, you might do something like this:
|
Date |
Action |
|
July 1 - 7 |
Plan and document changes to the Prospecting stage. |
|
July 8 - 21 |
Roll out changes to the Prospecting stage and coach the sales team. |
|
July 22 - 28 |
Plan and document changes to the Qualifying stage. |
|
July 29 - August 11 |
Roll out changes to the Qualifying stage and coach the sales team. |
|
August 12 - 18 |
Plan and document changes to the Needs assessment stage. |
|
August 19 - September 1 |
Roll out changes to the Needs assessment stage and coach the sales team. |
|
September 2 - 15 |
Plan and document changes to the Demo stage. |
|
September 16 - 22 |
Roll out changes to the Demo stage and coach the sales team. |
|
September 23 - 29 |
Plan and document changes to the Proposal stage. |
|
September 30 - October 13 |
Roll out changes to the Proposal stage and coach the sales team. |
|
October 14 - 20 |
Plan and document changes to the Objection handling stage. |
|
October 21 - November 3 |
Roll out changes to the Objection handling stage and coach the sales team. |
|
November 4 - 10 |
Plan and document changes to the Closing stage. |
|
November 11 - 24 |
Roll out changes to the Closing handling stage and coach the sales team. |
2. Focus on The Biggest Leaks First
If you're only making one change at a time, then it makes sense to tackle the biggest problems first, as these will be your biggest gains.
What you'll probably find is that 20% of the holes in your sales process will represent 80% of the increase in sales results, with the remaining 80% of issues only giving you another 20% boost (which is still not unimportant).
Use your sales reporting and analytics to determine which stages of your sales cycle are losing the most customers. Then, dig into those lost deals to determine why they've become lost opportunities.
You should be able to find some insights that can inform process changes, such as additional signs to look for during the prospecting stage or improvements to your pitch or demo process.
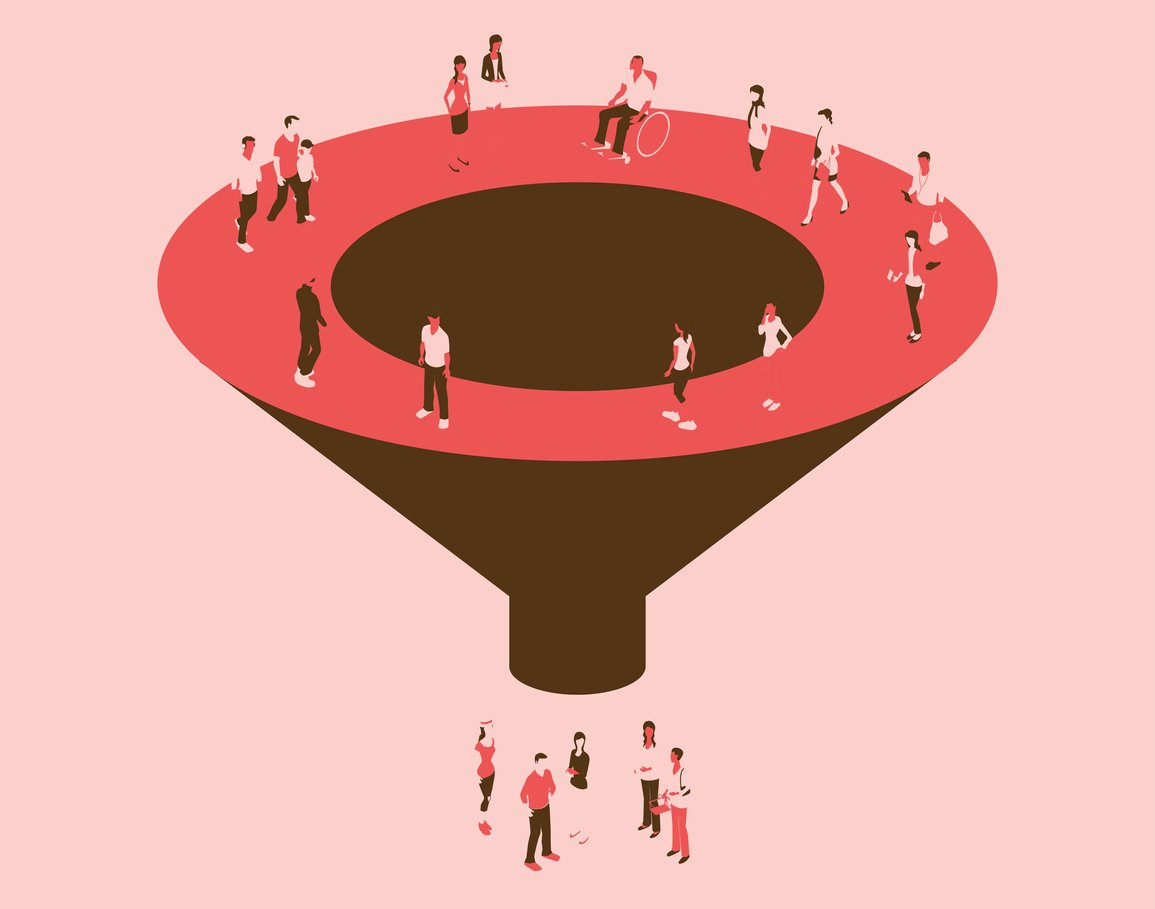
3. Keep The Top of Your Pipeline Full
One of the biggest challenges the sales reps face today is a steady supply of new leads.
Paradoxically, the activity that salespeople tend to hate the most is prospecting.
Not a recipe for success, then, is it? Salespeople who complain that they have no leads but don't want to prospect.
The main reason this becomes a problem is that teams don't maintain a steady flow of new leads.
That is, they don't keep the top of the pipeline full.
Here's how it works:
Your team gets a bunch of new leads. Awesome. They start qualifying and assessing their needs and moving them through the sales pipeline.
Some of them get closed as lost, some of them become long-term follow-ups, and some (the ones we love the most) move forward to the final stages of our sales process.
Now things are getting exciting, and we're spending as much time and energy as we have available to close those deals.
Notice that throughout this process, we haven't been dedicating any time to finding new leads.
Now, once we've moved all the deals through the pipeline and closed a bunch of sales, we're left with an empty pipeline.
So it's back to a week or two of prospecting, and then we repeat the whole process all over again.
This is a nightmare for sales forecasting and revenue predictability, and it makes it really tough for leaders to make decisions as to new investments.
This, in a nutshell, is why you need to focus on keeping the top of the sales pipeline full.
The next two tips explore a couple of ways to achieve this.
4. Use Multiple Lead Sources

The first way to keep the top of your pipeline full is to obtain new leads from multiple sources.
If you're focusing only on outbound lead generation, then you're likely to hit the issue we've just discussed (unless you implement tip number 5).
So, complement your lead generation efforts with a bit of inbound marketing.
Using inbound lead generation efforts, your pipeline can be continuously topped up with leads from:
- Social media
- Referrals
- Word of mouth
- Gated content
- Webinars
- Blog content
5. Split Opening and Closing Into Two Different Roles
Perhaps the most common way that inside sales teams tackle the lead generation and prospecting challenges is to split the roles out.
That is, you have one team prospecting and another team presenting and closing deals.
This is typically made up of three roles:
- BDR (Business Development Rep) - responsible for outbound prospecting
- SDR (Sales Development Rep) - responsible for inbound lead qualification
- AE (Account Executive) - responsible for qualification, demonstration, objection handling, and closing
Using this methodology, you no longer have to worry about sales reps dedicating more time to active leads than prospecting for new ones because you have an entire team dedicated to prospecting.
Generally, how this would work is that your SDR/BDR would qualify the lead to a certain point before handing it over to an AE. The AE would then qualify further and complete a needs assessment, and then move forward in the sales process from there.
6. Adjust Your Process Based on Customer Needs
Your sales process should be based on how your customers move through the sales funnel, not on an arbitrary arrangement you learned on a two-day sales course.
Yes, there's probably an overlap there, and you've got to start with something, but the point is this:
Listen to feedback from your prospects to determine what is and isn't working. More than that, ask for feedback.
If they feel, for example, that you're making them jump through too many hoops before discussing pricing, then you could be adding unnecessary friction.
Use feedback such as this to inform developments to your sales workflow.
7. Don't Be Afraid to Challenge The Status Quo
Above all, remember that what works best for your team is what works best for your team.
Take as much advice on board as possible, but don't constrain yourself to that advice.
If you feel that there is a better way, then give it a crack. Maybe you'll find that for your customers, qualification and needs assessment can be combined into one stage.
Maybe you'll find that you don't need to do any outbound prospecting at all and that your inbound leads are more than enough to achieve your sales goals.
Or maybe you'll give it a go, and it doesn't work.
That's okay, too; you'll pull some valuable learnings out of that.
Read on to our next tip to see how you can mitigate some of that risk.
8. A/B Test Risky Process Changes
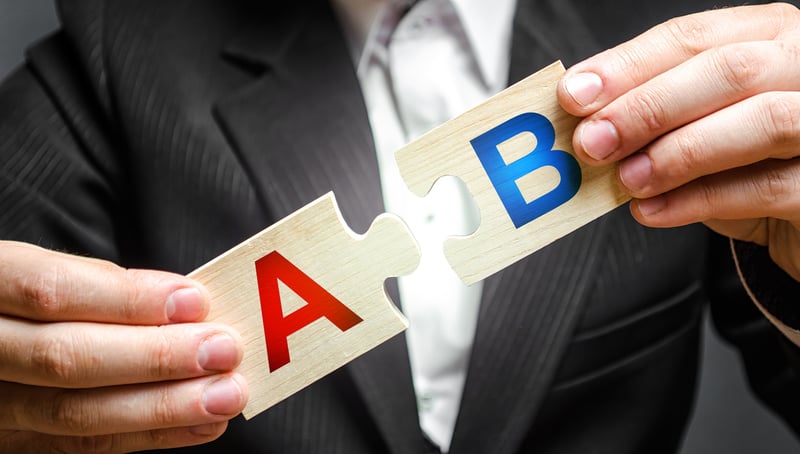
If you're looking at implementing a change to your process that you think is a little risky, why not take a leaf out of the marketers' book and try an A/B test?
Rather than rolling out the change across your whole team, simply leave half of them doing it the old way, and try out the new thing with the other half.
Give it a month or two to get some decent analytics on the situation and see what you've learned.
If it worked, great. Roll it out to the rest of the team.
If it didn't, fine. You only lost half as much ground as you could have, and you can return that half of the team to normal now.
9. Leverage Automation to Free Up Reps to Sell More
Want a quick way to give your reps 30% more time each month to sell?
It's pretty simple:
Automate the hell out of your sales process.
As much as 30% of a salesperson's daily activities can be automated, resulting in huge productivity gains.
What kind of activities, you ask?
Here are just a few examples:
- Follow up emails
- New activity creation
- Call transcription and note-taking
- SMS drip campaigns
By leveraging the automation capabilities of your sales CRM, you not only give your reps more time to sell, but you'll join the 61% who are exceeding annual revenue goals.
10. Realize That The Sales Process Is Never Complete
One of the mistakes many salespeople and sales leaders make is thinking that once they've designed a sales process, they can just put it into play and move on to something else.
Sorry. Not the case.
Your sales process is something that will constantly be evolving and changing, courtesy of the changing needs of your customers, updates to technology, and revisions to your product and service offerings.
Outside of those external circumstances, you should be using your sales reporting data to identify ongoing opportunities to improve.
So, the sales process is never really complete.
7 Benefits of Implementing Sales Workflow Software

Once you've designed the first iteration of your sales process, you'll want to bring onboard a sales workflow software platform to help you manage the whole process.
Here's why:
1. Consistent Customer Experience
By templating and automating communications such as email and SMS messages, you're ensuring that every prospect and customer who deals with your team gets the same experience - the experience you designed.
2. Improved Communications With Prospects
Sales workflow software improves communication with customers by bringing urgent messages to the forefront of your workload and ensuring that sales reps adhere to a sales cadence as designed by the sales manager.
3. Less Time Spent Managing
Sales software offers a huge benefit to leads of large teams (it's why 91% of organizations with a sales team larger than 11 use them).
Leading a team of this size can involve a lot of individual rep management and coaching to ensure team members are deeply engaged in the sales process.
By installing sales workflow software, you can take some of this work off of your plate because the individual activities that make up your sales process are already programmed into the system.
4. Fewer Sales Rep Mistakes
Databases quickly come messy when you give permission for tens or hundreds of sales reps to get involved.
By adding a layer of workflow automation, you essentially cut out the human element of that activity, eliminating the possibility of human error.
5. Stronger Insights Into Sales Process Efficacy and Rep Performance
When your sales team is managing all of their sales activity inside your sales software, you're given the opportunity to dive deep into the numbers.
You'll have visibility over metrics such as sales velocity, conversion rates at each stage, and won/lost rates.
Importantly, you'll also be able to narrow it down to individual rep performance and identify opportunities for further coaching.
6. A Central Point of Truth
Lastly, implementing a software workflow software platform ensures that all of your data, from contact information to communication records, are stored in one place.
No more "Crap, I lost their number" or "Oh, I didn't get that message."
7. Automating Sales Process
A clearly defined sales process flowchart is one of the most important aspects of managing a successful sales team. Using workflow software, you can streamline your sales process stages and increase efficiency by automating manual tasks.
This helps you to quickly identify what works and what doesn't in each stage of the sales process. It also makes it easier to identify gaps in the sales process that need to be addressed.
Additionally, workflow software allows for quick and easy implementation of any changes or updates you make to your sales process stages. This can help you stay ahead of the competition by ensuring your team is always up-to-date with the latest industry trends and best practices.
Criteria in Choosing Sales Workflow Software

Sounds like there's a lot to gain from investing in sales workflow software, huh?
To help you choose the ideal platform, let's quickly review what features you should be looking out for, and what to ask.
- Automation - the more you can automate, the more time you have to sell!
- Integrations - does the software platform integrate with the tools you're already using?
- Support - will you get a dedicated rep? Is there a 24-hour support service? Does the company have helpful resources available?
- Pricing - what does the software cost? Is it a one-off fee or a monthly subscription
- Mobile app - do they have one? 50% of teams using a mobile app noticed an uplift in productivity
- Phone and SMS capabilities - can you call from the software platform? Do you need to pay for a third-party VoIP integration? Can you send SMS messages?
- Email marketing and drip campaigns - does the platform offer drip campaigns so you can set up nurture campaigns for those not-so-sales-ready leads?
- Customization - will you be able to create a custom pipeline that matches your sales process? What about building a custom reporting dashboard?
Summary / Wrap up
We covered a lot of ground today!
Let's recap:
- A sales process is a set of steps that sales reps follow to move a prospect from New Lead through to Deal Won
- Each stage should align with the buyer's journey and involves specific actions that a sales rep must take
- A sales workflow diagram helps teams to visualize what the outcome of each stage should be, and what actions to take next
All pretty straightforward, right? Well, if you take heed of these 10 insider tips, you'll nail it:
- Make only one change at a time
- Focus on the biggest opportunities first
- Keep the top of your pipeline full
- Get leads from multiple sources
- Split your team between BDR/SDR and AE roles
- Adjust your process based on customer feedback
- Don't be afraid to try something new or unheard
- Hedge risk on sales process change by A/B testing
- Leverage automation to give your reps more time to sell
- Understand that sales process development is continuous
Got all that? Need a sound sales process and workflow software platform?
We've got your back. Book a demo with the Ringy team today.

Skyrocket your sales with the CRM that does it all.
Calling? Check. SMS? Check. Automation and AI? Check. Effortlessly keep in touch with your customers and boost your revenue without limits.

Related Articles