Step 1. Go to the Lead Vendors page
Step 2. Click the purple button on the right that says “Add Lead Vendor” and choose “My vendor isn’t listed” from the drop down menu if you do not see them listed.

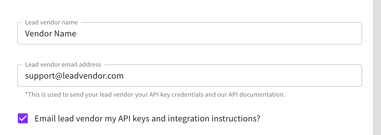
Step 3. Enter in your lead vendor’s information in the “Lead vendor name” and “Lead vendor email address” and click the box that says “Email lead vendor my API keys and integration instructions?” because the lead vendor will need this information for integration.
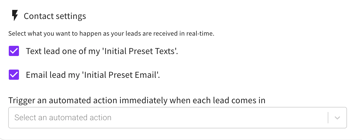
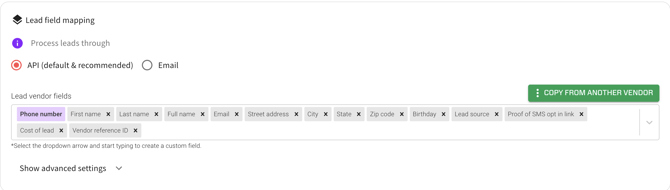
Step 4. Set your “Contact settings” and “Lead vendor fields” which can be located further down the page and then click “Save Lead Vendor."
If you have more data the lead company provides than what is listed in the drop down menu for lead field mapping, you can create custom fields by typing out the field name in the same box, and clicking Enter on your keyboard.
Please note, if your contact settings are set to send an initial preset text message when the lead is created and also trigger an automated action that contains a text message, this would result in the lead getting 2 texts.
If you’re having issues verifying your lead vendor then go to the Lead Vendor page and select the Clicking Here or Email Again button that appears in purple under status for that particular lead vendor to resend them instructions that way.
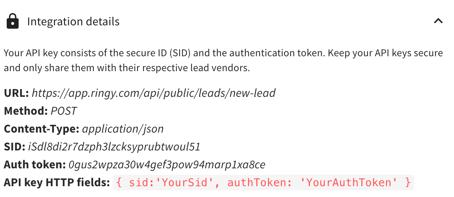
Alternatively, you can send your lead vendor the API information by clicking the purple pencil edit button beside the lead vendor already created on the Lead Vendor page. The integration details are in the top right corner in the drop down menu.
As soon as your lead vendor sends you a successful lead, it will appear under status as Verified.
Ringy has a built-in robust, flexible and powerful API that can integrate with any lead vendor. In very rare instances, some lead vendors may lack the technology required to integrate with us. If your lead vendor or lead source tells you they cannot integrate with us after reviewing our integration instructions, you will need to either upload leads via a CSV, manually create a lead individually from the Leads page by choosing "+ CREATE Lead" in the top right corner, or scrape leads from another CRM using our Chrome Extension.